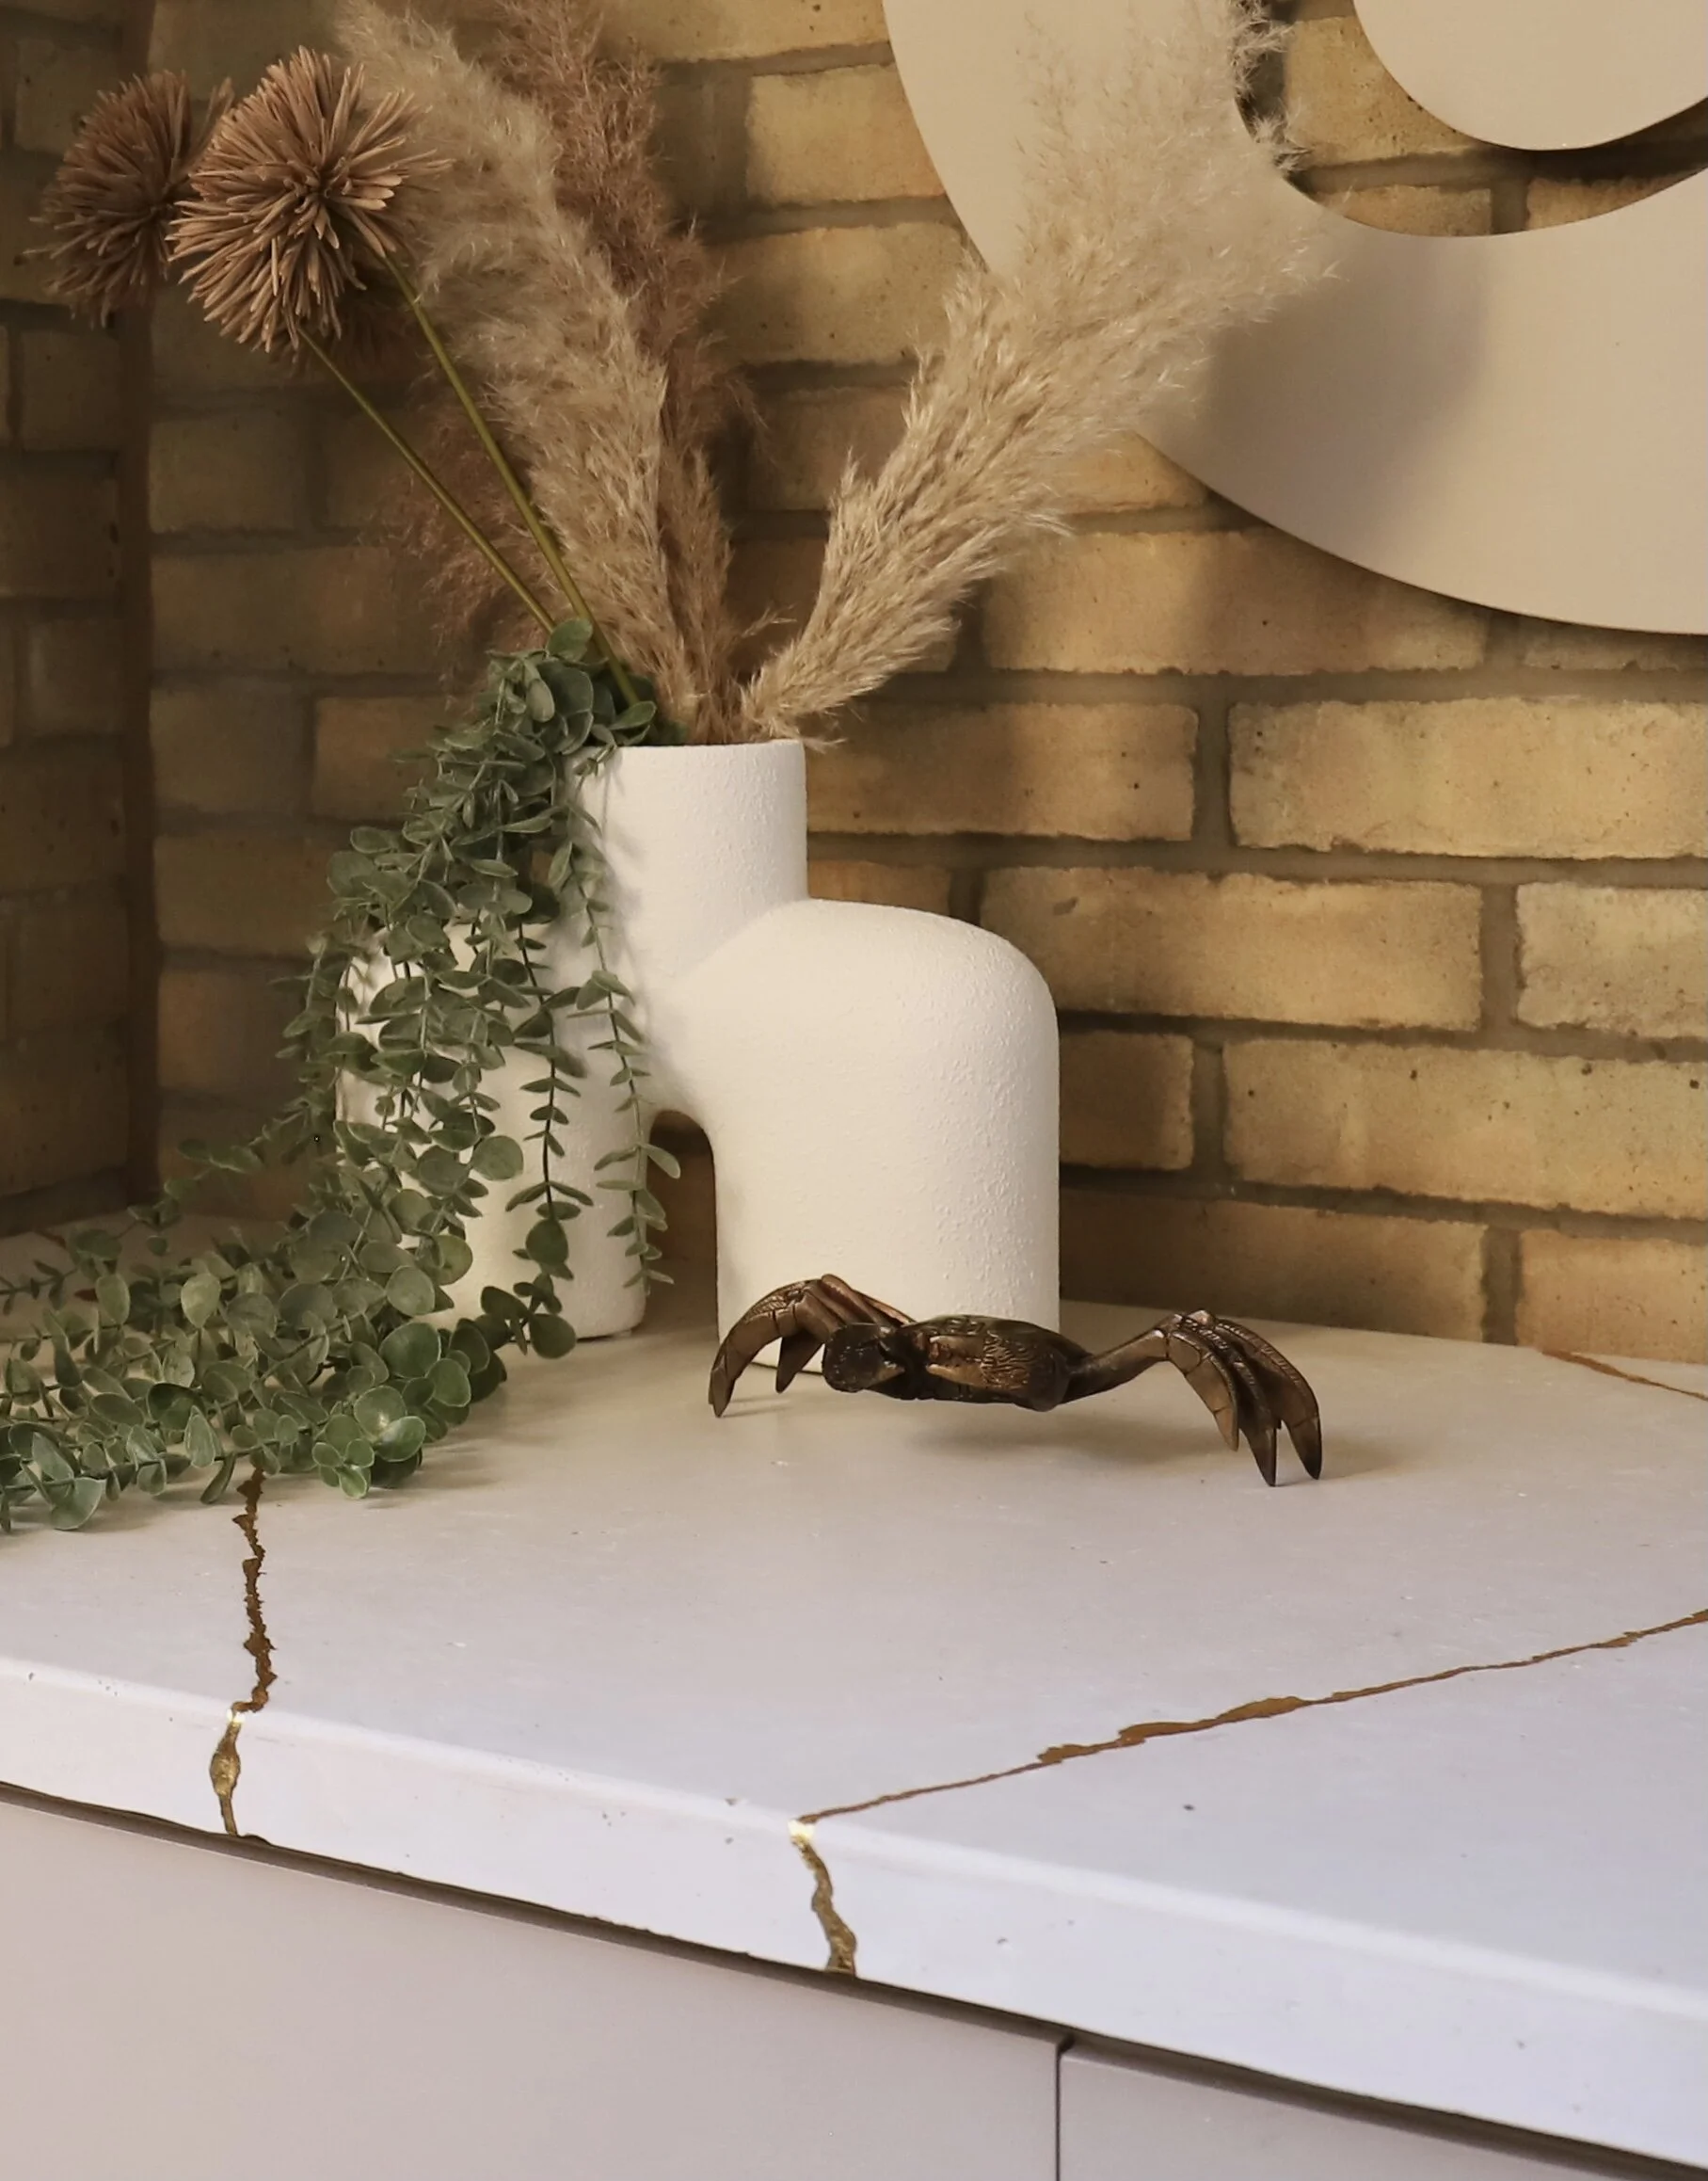


I love the Japanese philosophy behind kintsugi, the idea that you can take something broken and make it into something beautiful.
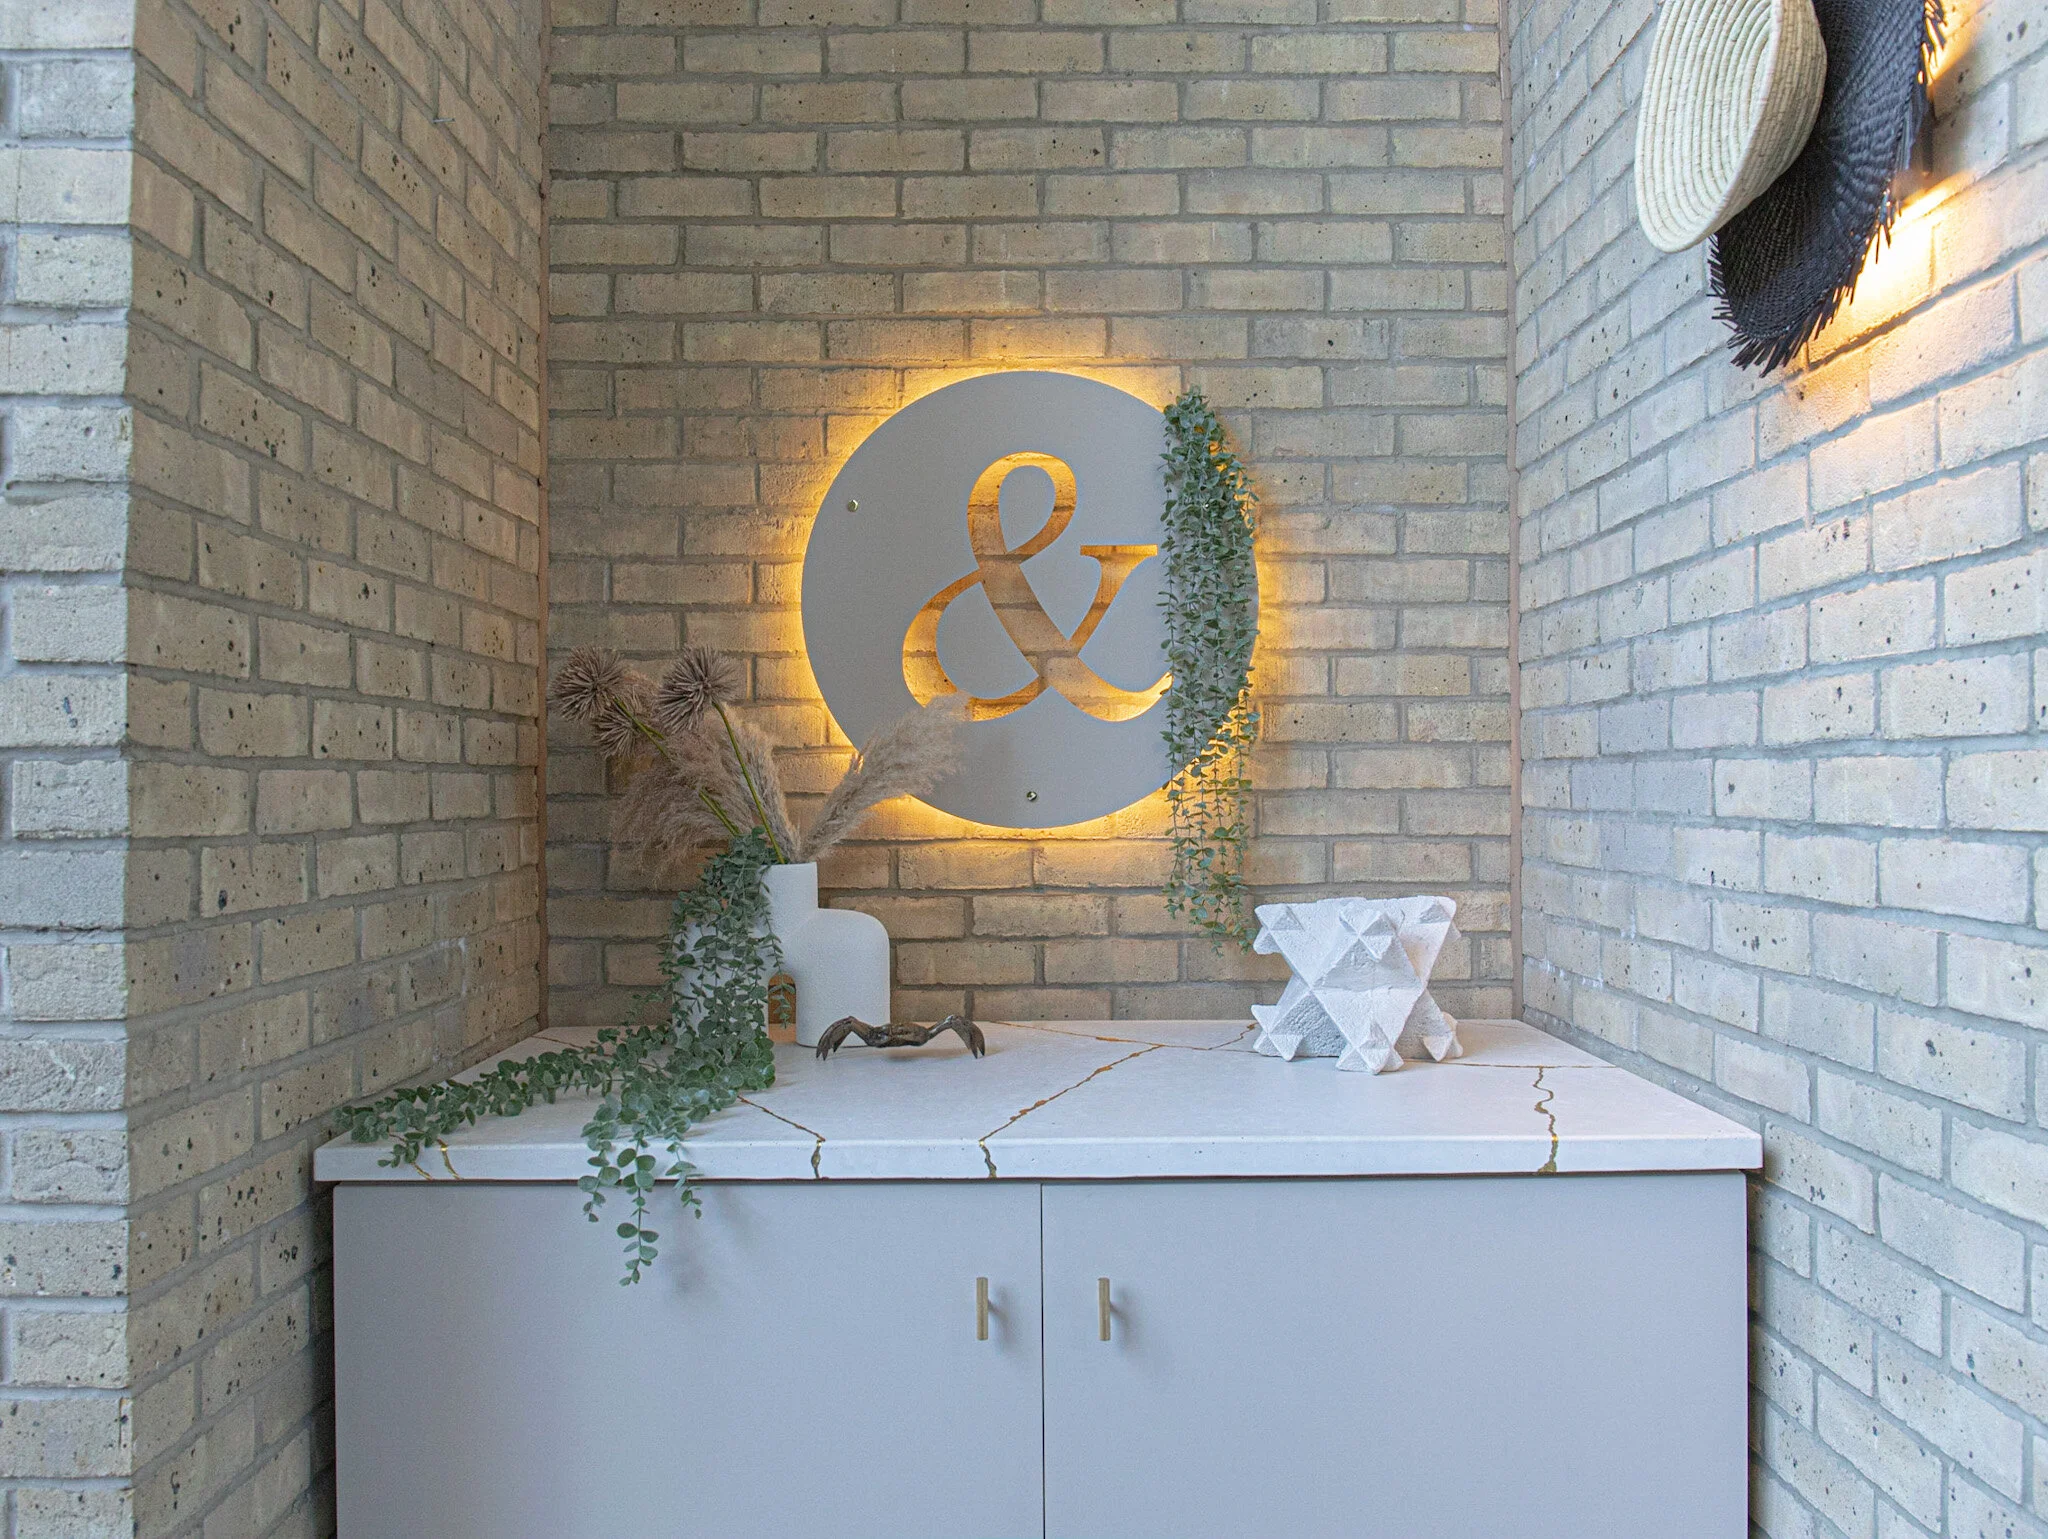
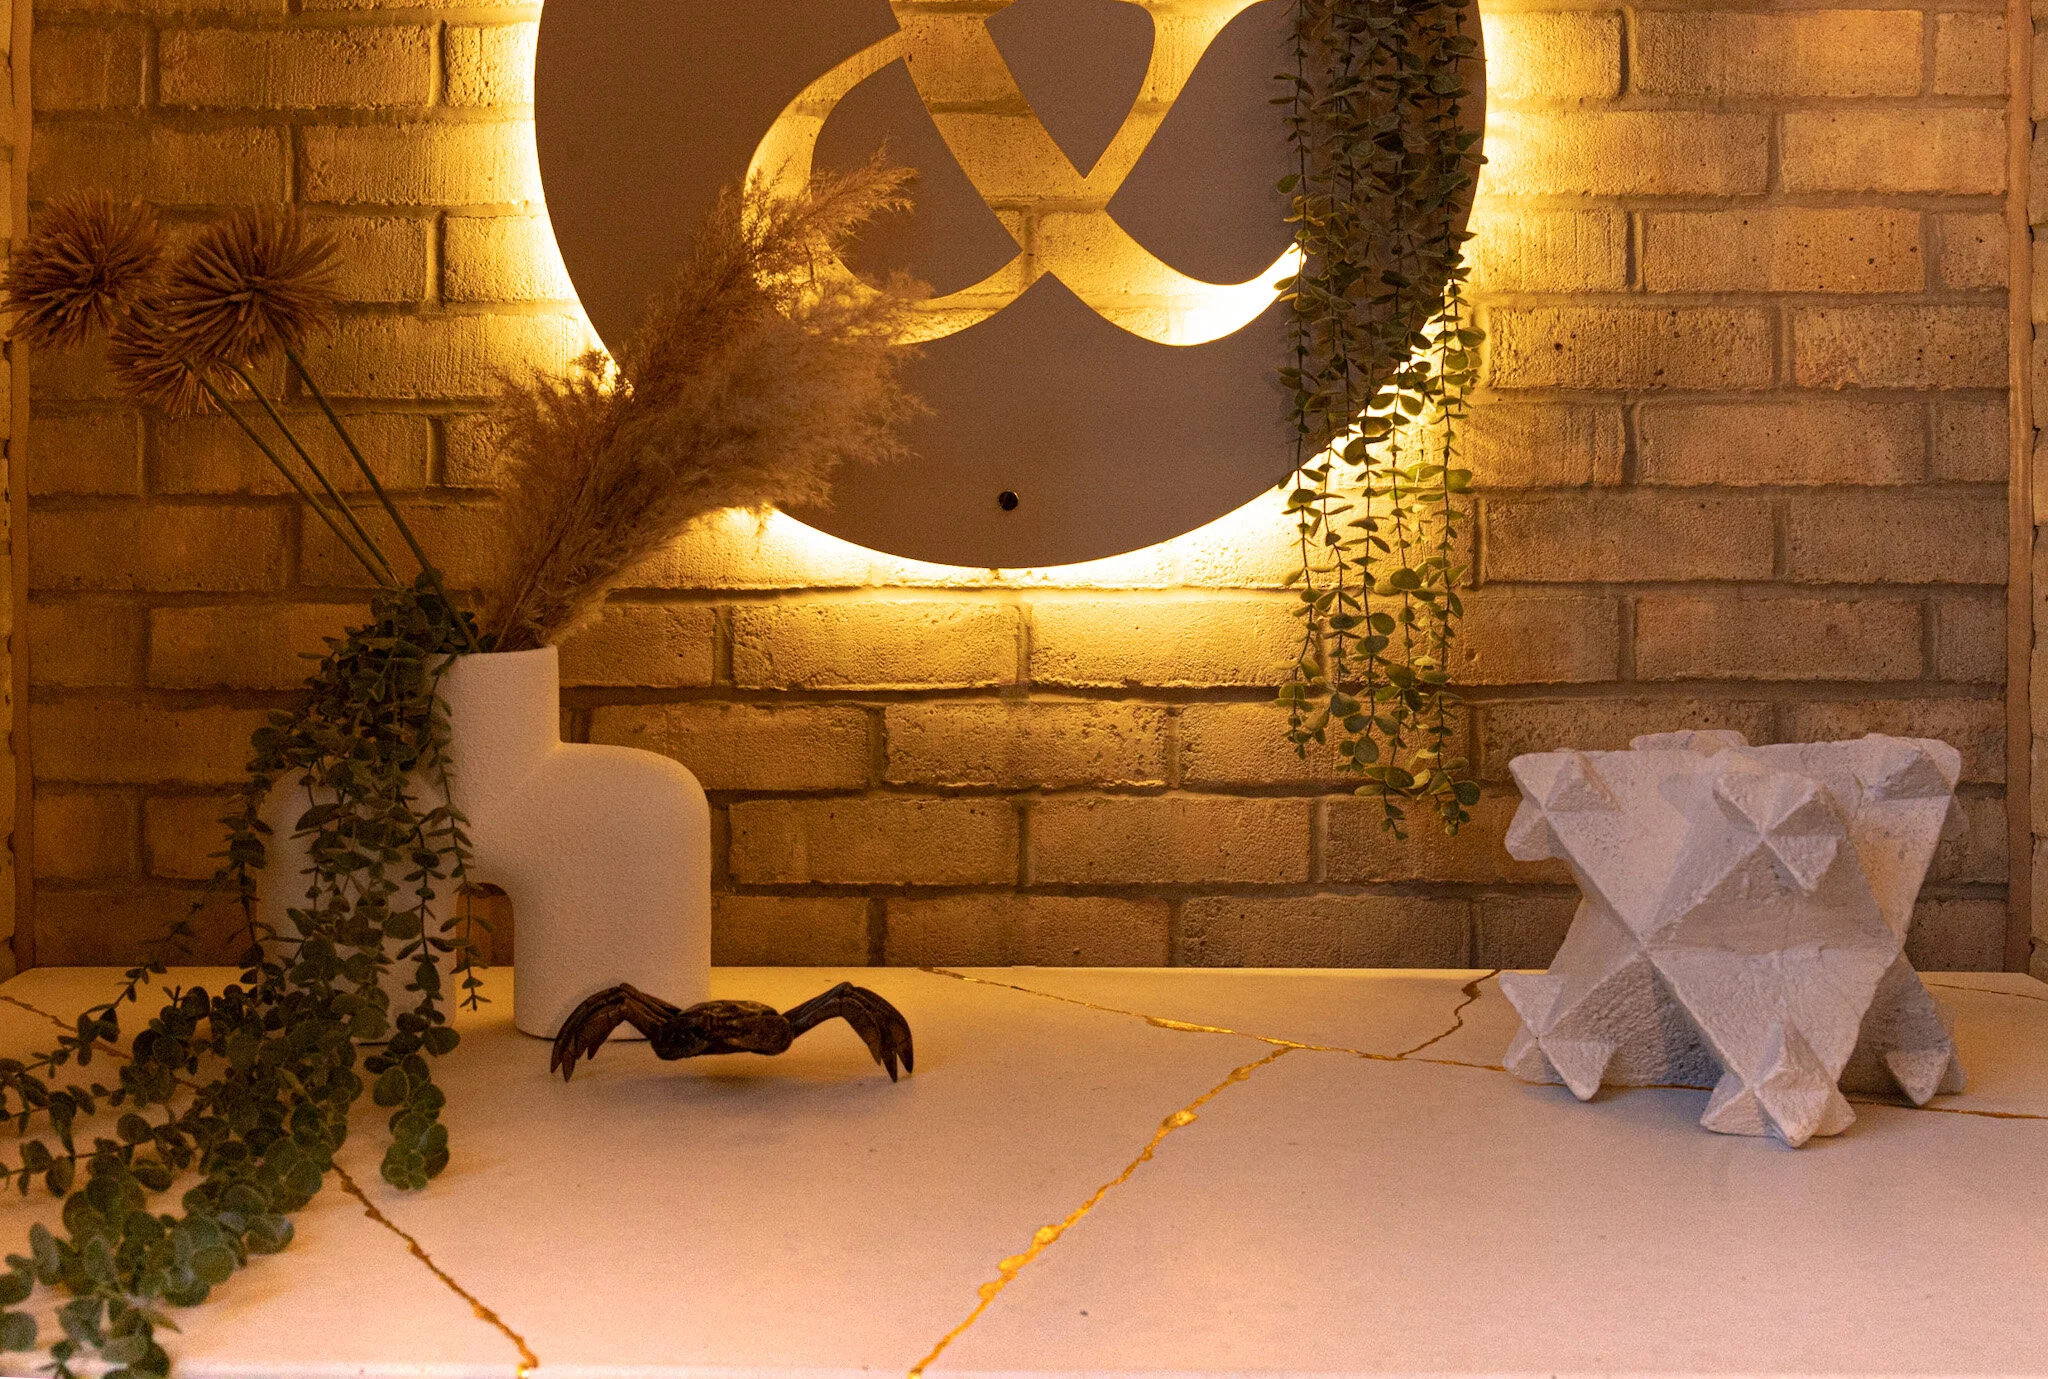
This outdoor terrace was covered by a double-height balcony. Well-protected from London’s wet climate meant we could push the boundaries on outdoor materials. To a point. After discounting a wild terrazzo tile, which would need careful looking after, I proposed to my clients a custom concrete kintsugi top. I would make — and then break — a concrete slab, then repair it using gold leaf to accentuate the breaks. A one-off piece, something unique. I had already learned that these homeowners had copious amounts of both taste and courage, so I wasn’t surprised when they agreed to it.


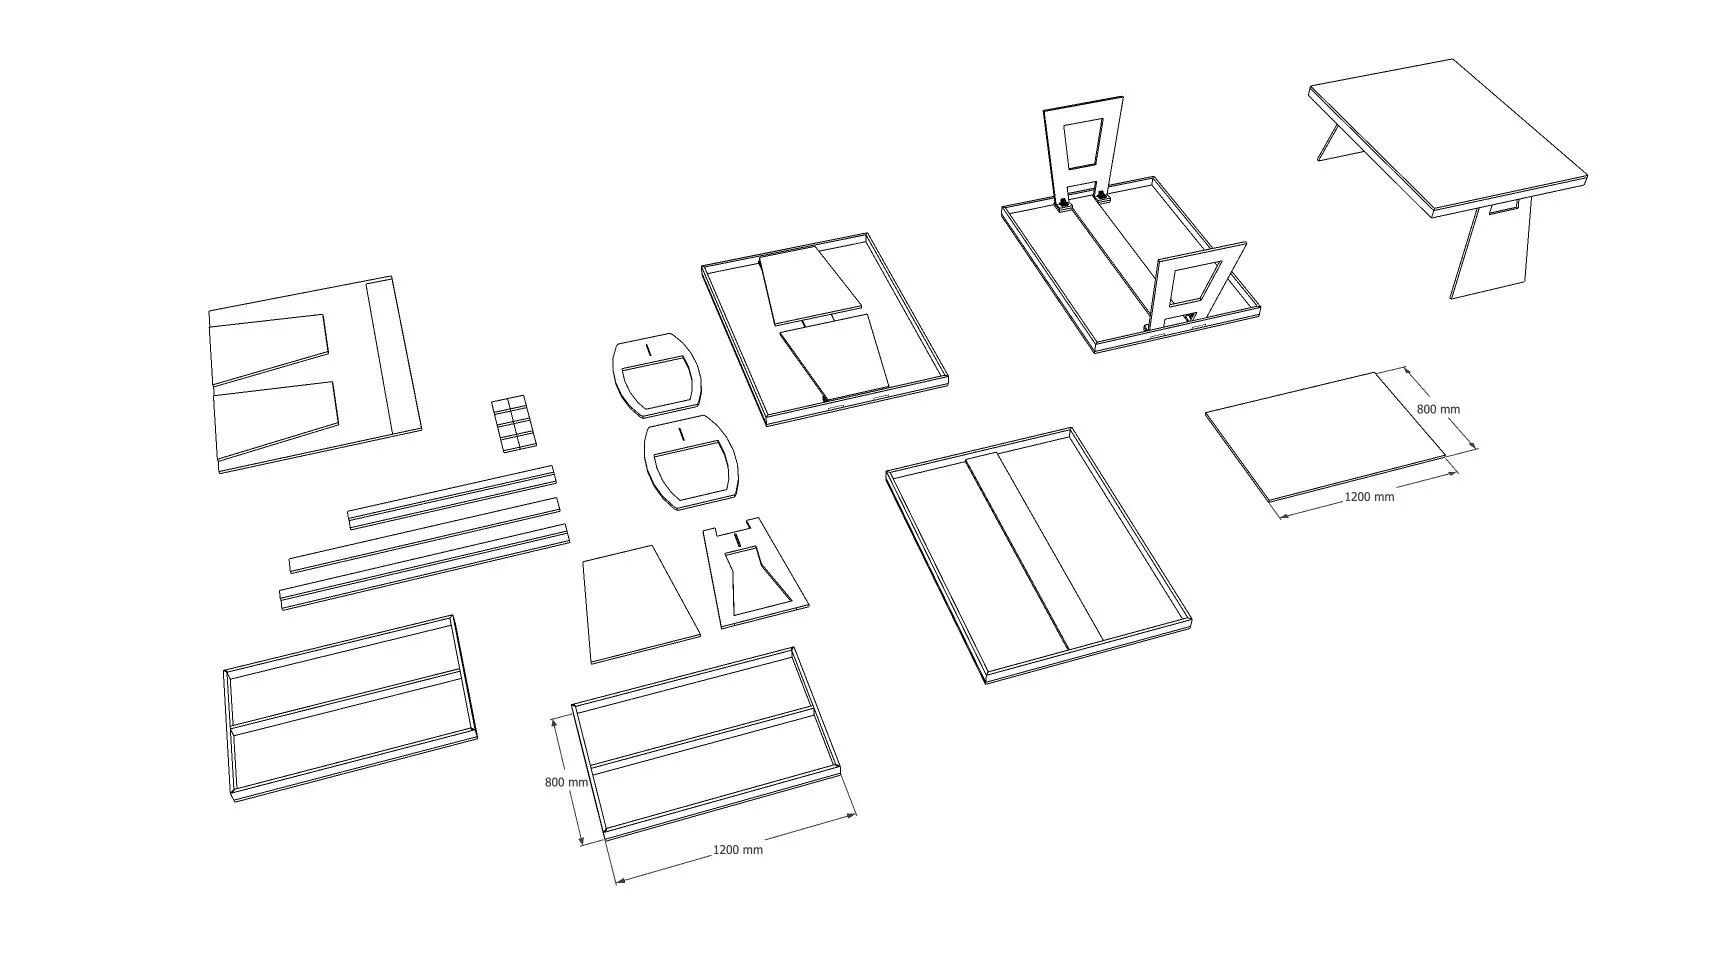
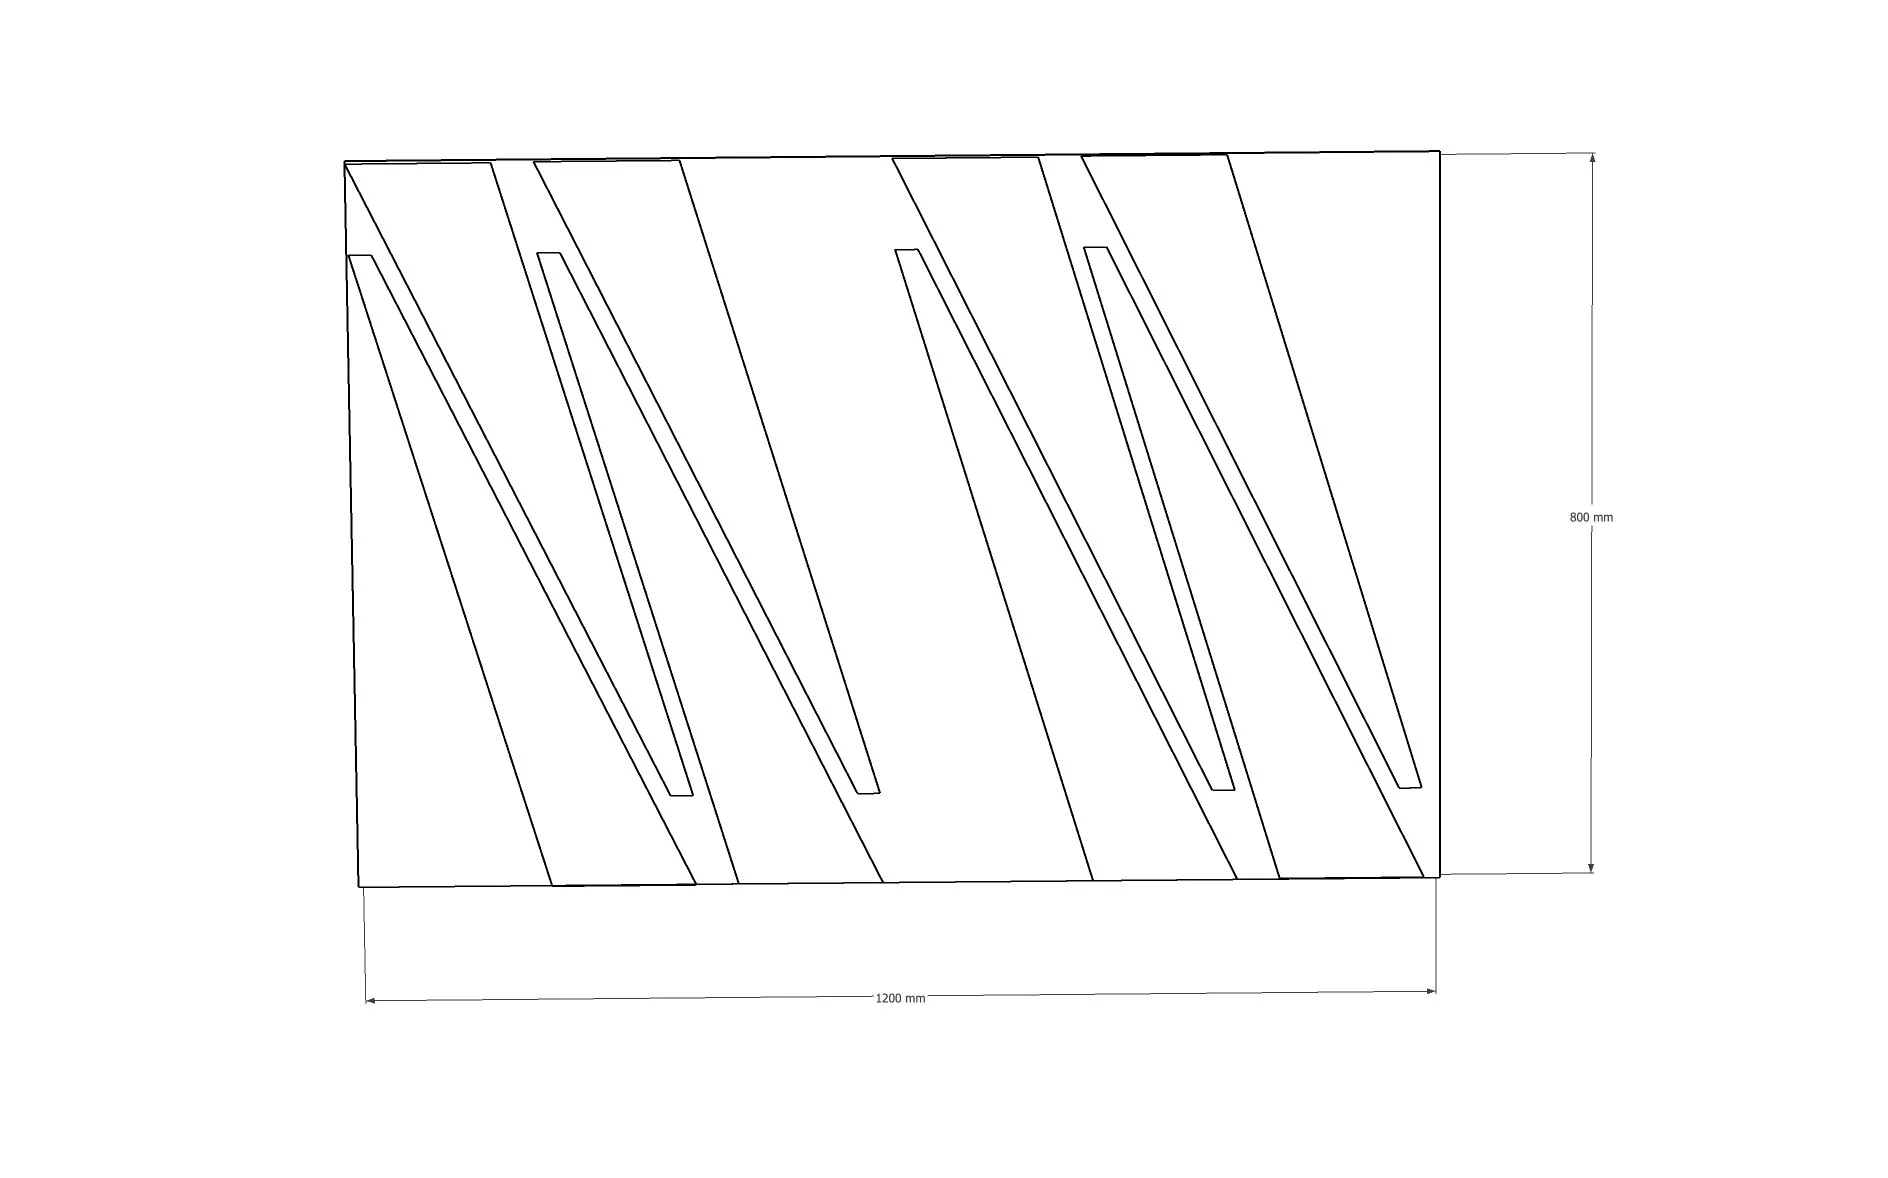
Now you may think concrete is a fail-proof material to work with, as did I having seen it humming along in a mixer on the motorway. How hard could this be? Upon closer investigation I began to worry. There are three main components to be ideally proportioned, and curing conditions to be met, meaning things easily can go very wrong. And at the time I suggested either black or white, I didn’t know how different it was to achieve each colour. For black, you can use standard concrete and add a colour powder to the mix. For a homogenous white concrete (and not end up with a pseudo-white speckled slab), you cannot simply dye the powder or paste. You must start with pure white materials, both the cement and the fine aggregate. In short, this would be an expensive mistake if it didn’t work, which is exactly what happened. My first mould was too thin as I tried to strike a balance between ‘thick enough for strength’ and ‘the cabinet won’t buckle under the weight’. Extracting the thin slab was easy. But not in a good way. Each corner I touched cracked off as if I were breaking a biscuit. I re-built the mould, doubled in depth, but now it was too heavy to carry even empty. Moreover, the cabinet would need further underpinning to support the greater weight, and now I must ask Roy for help. With his capable skills the second slab was a success and all we needed to do once extracted was place some boards underneath to create an uneven surface. Then jump!
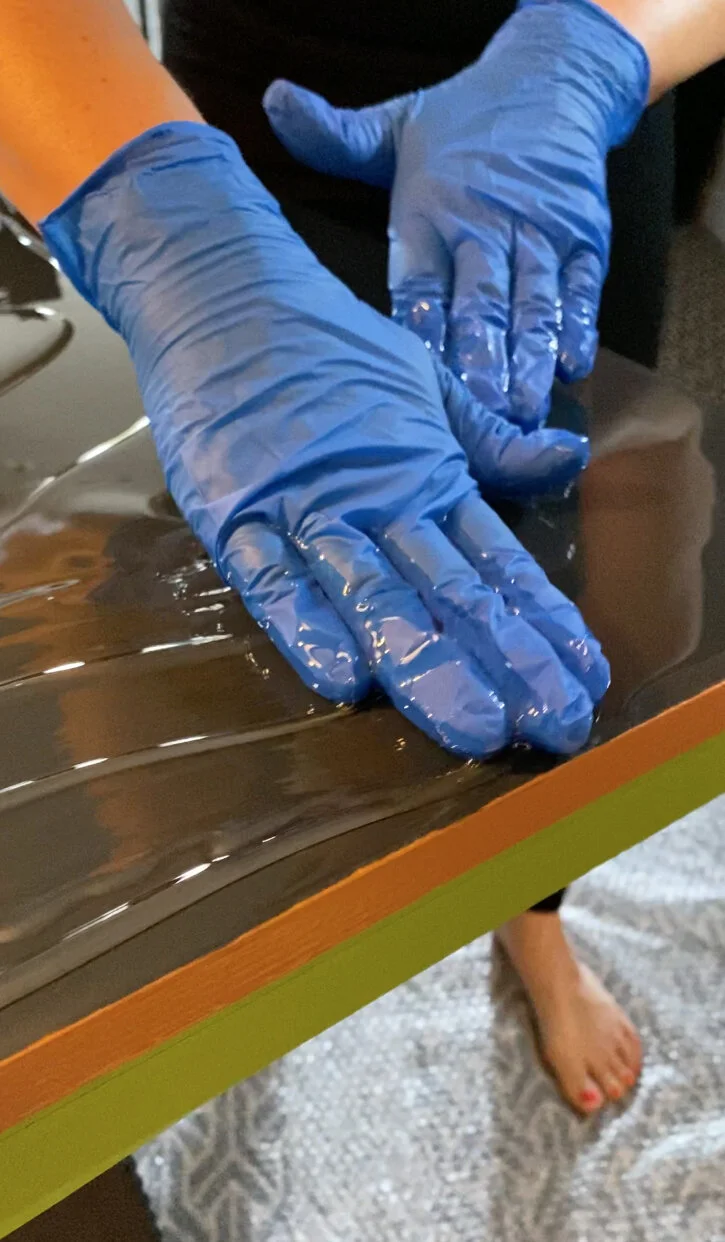
I numbered the pieces to make reconstruction easier, then used adhesive to re-join them back together. Two applications of grout leaving enough of a groove for effect, and we were ready for the gold leafing.
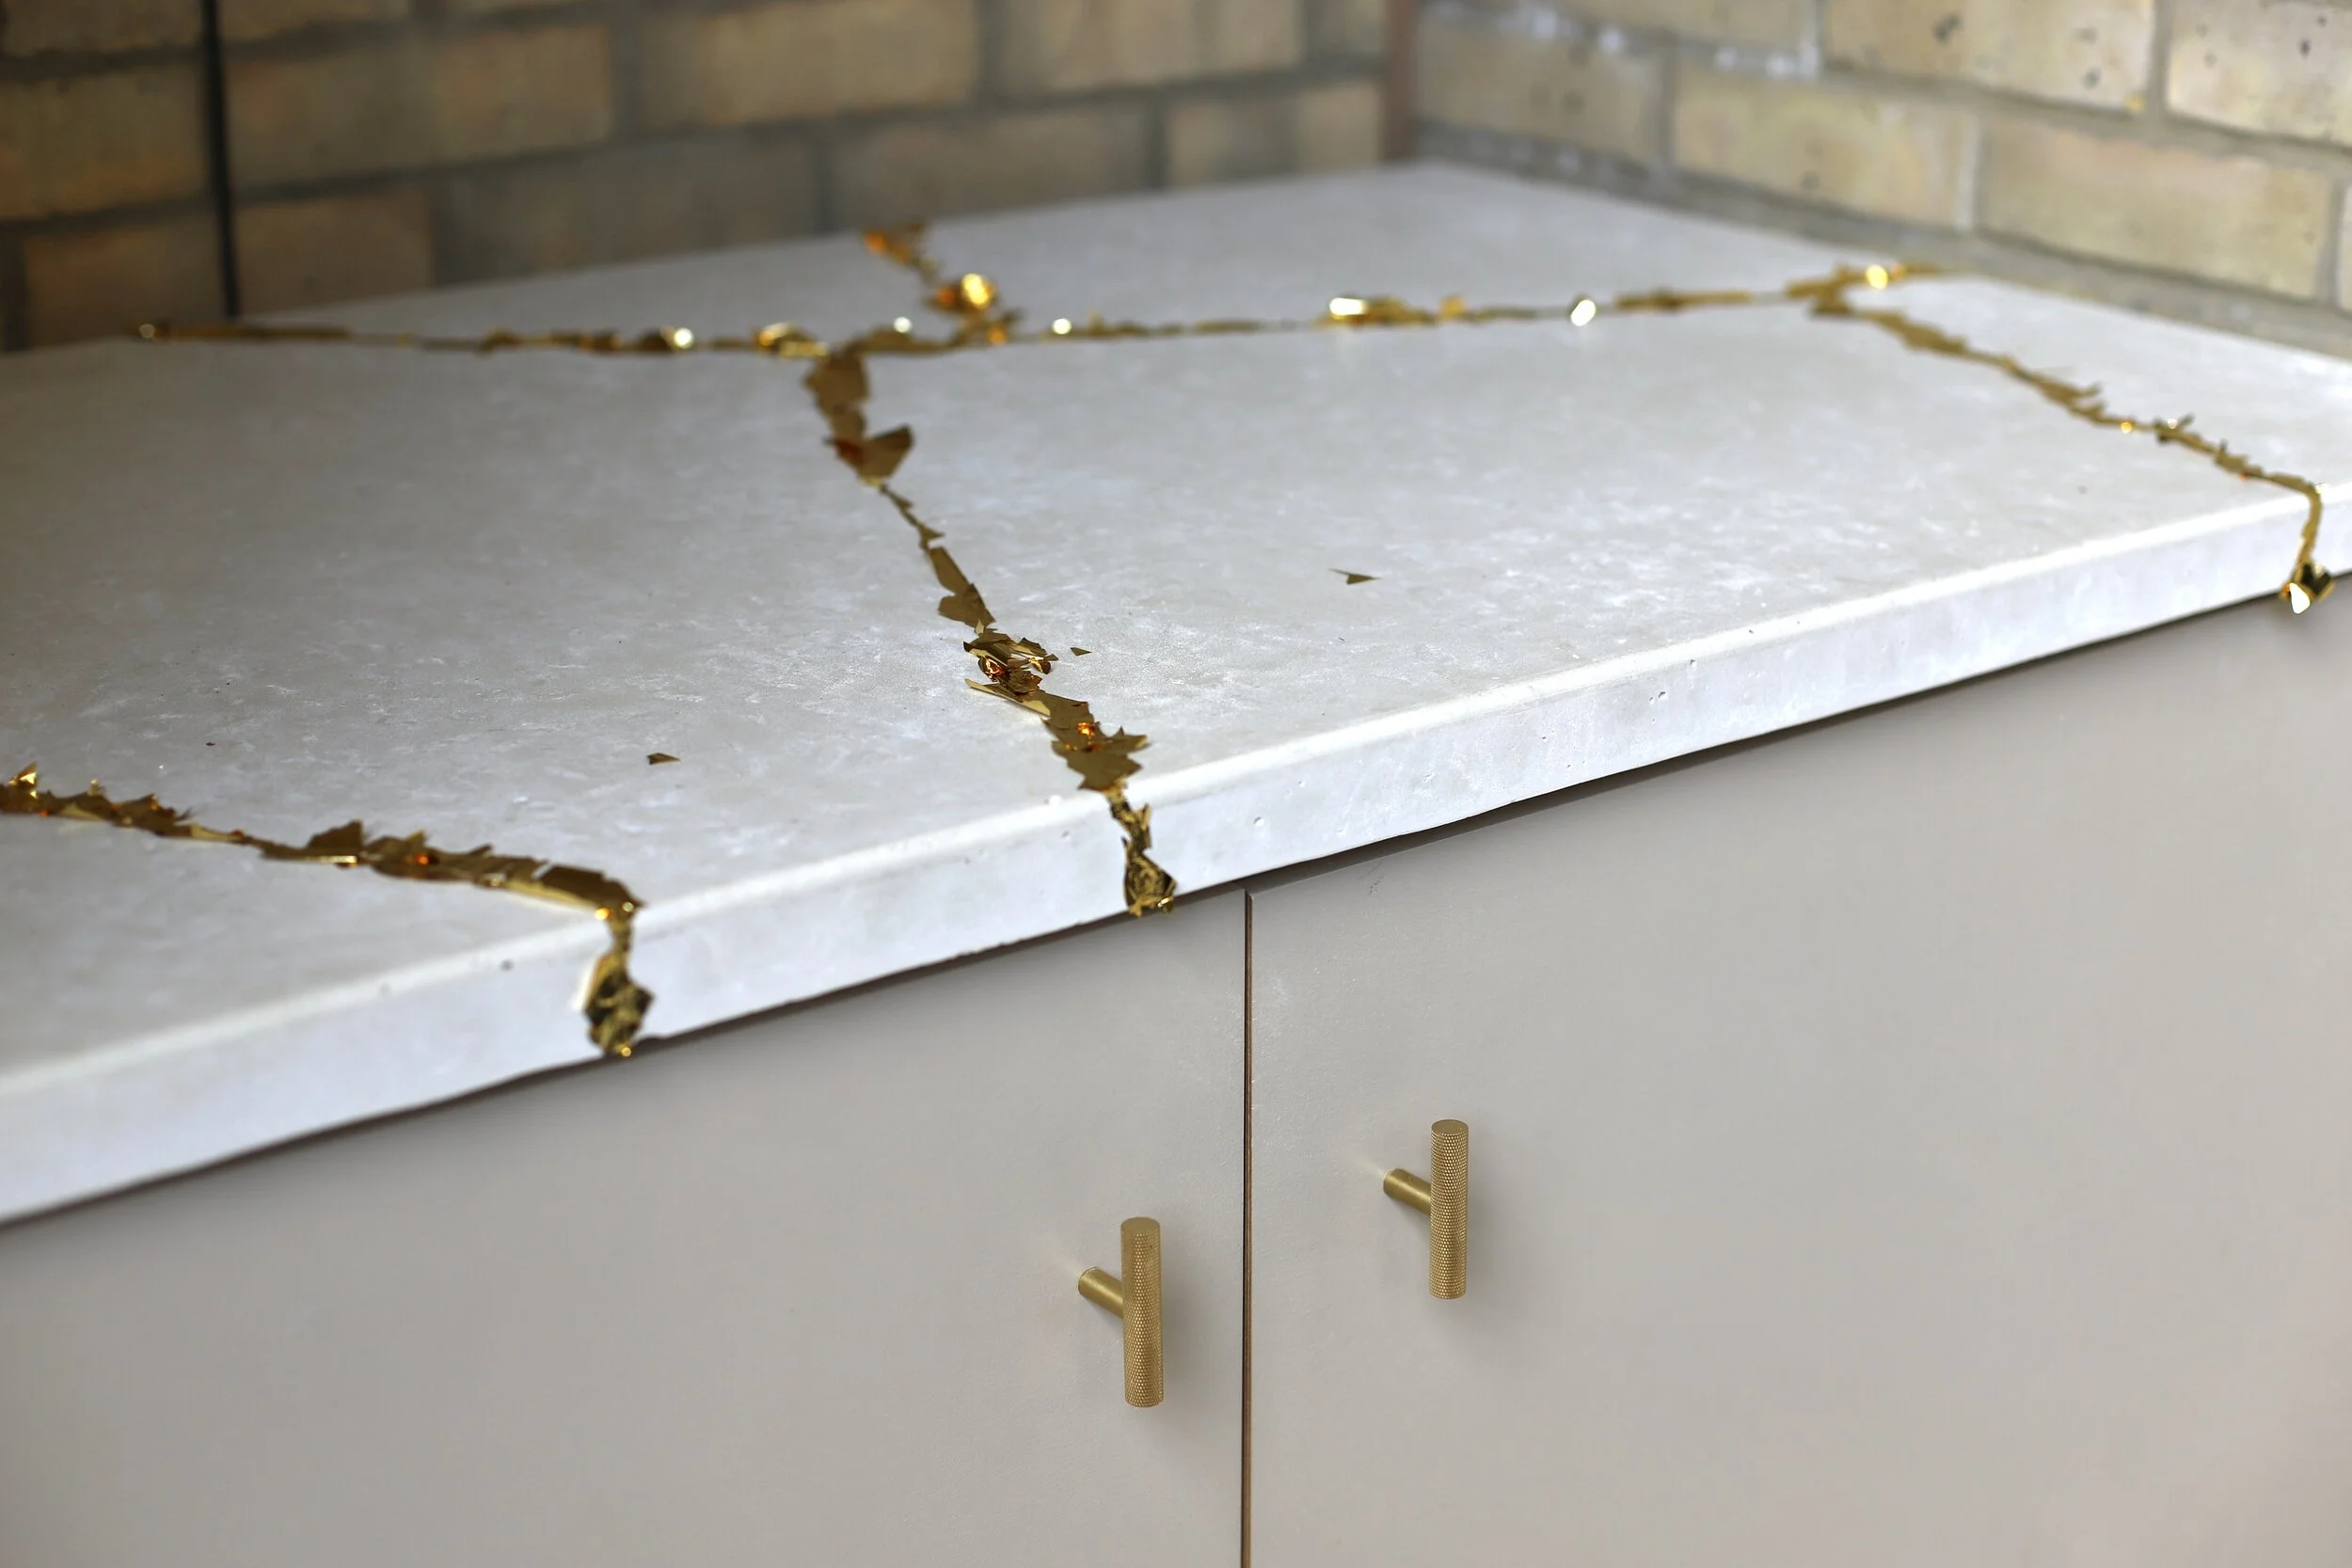

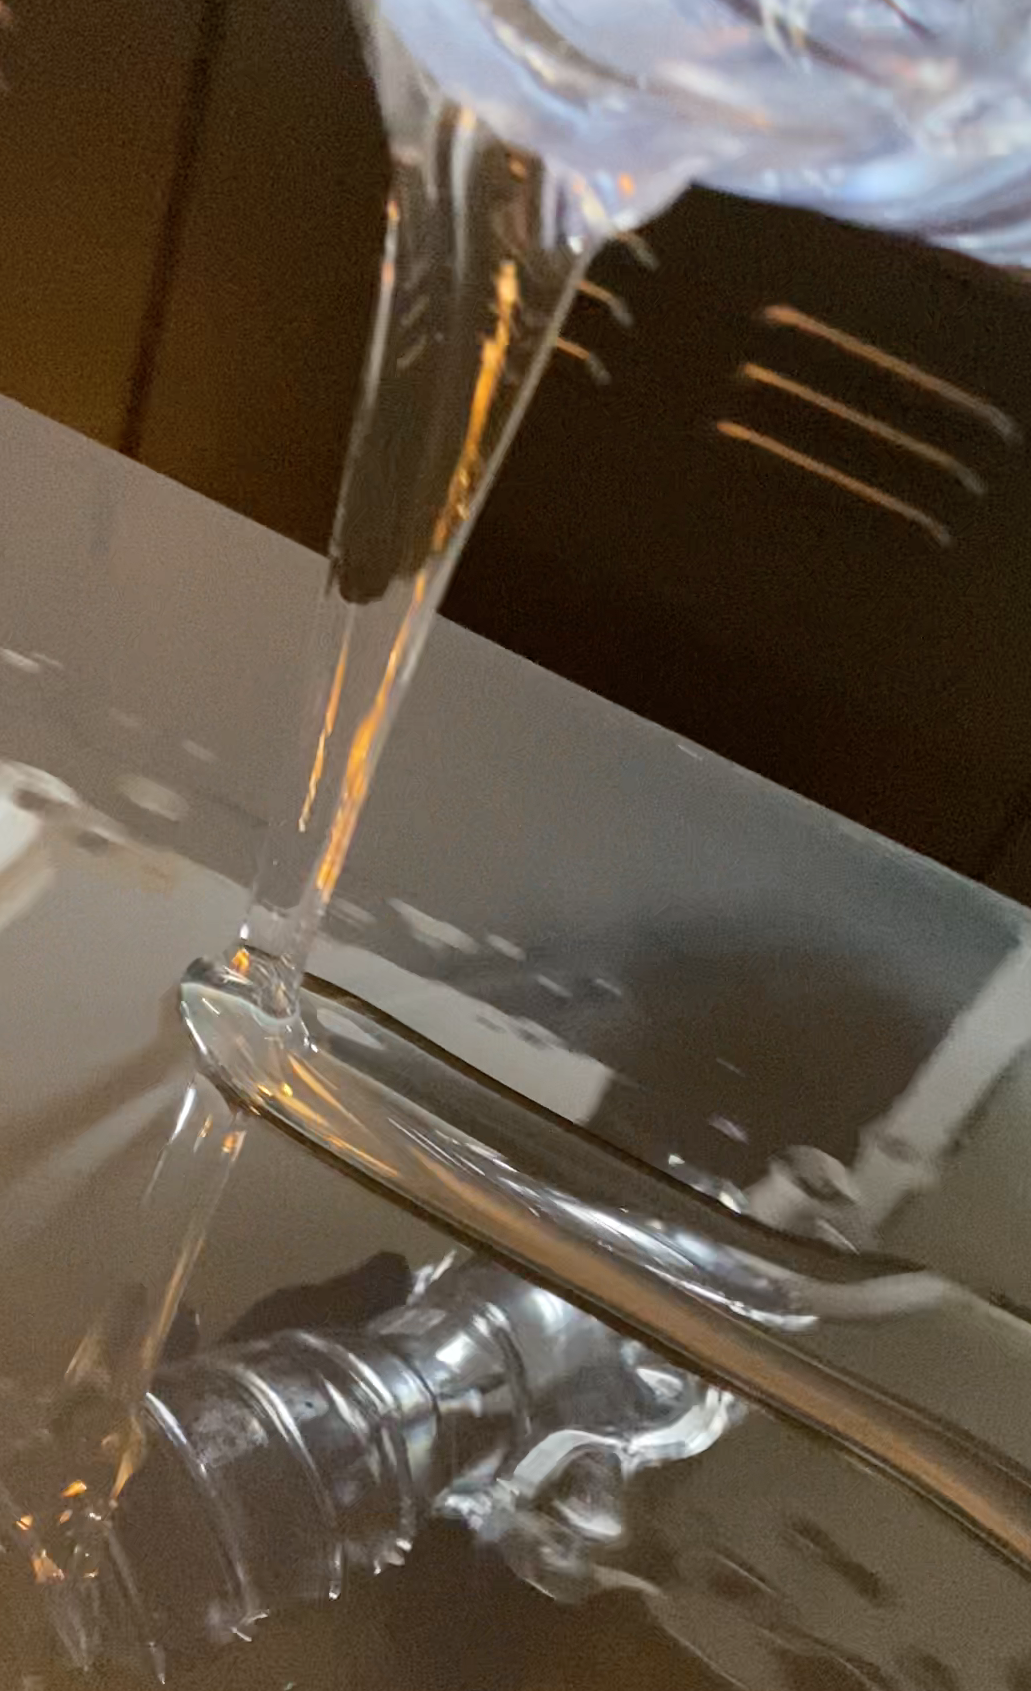
Although the terrace is covered, it’s still outdoors, it’s London, and it would be used for entertaining with hot plates and bottles of wine. The worktop would need to be protected from these elements. But his time I had already fallen in love with the natural feel of the concrete and didn’t go to all that trouble only to lose it so I had to find a finish that would be invisible. The USA had the only forms of ‘naked’ varnish I could find, and it meant waiting about two months for it to arrive. But it was worth it. It sealed and protected the worktop, but it still looked and felt natural.

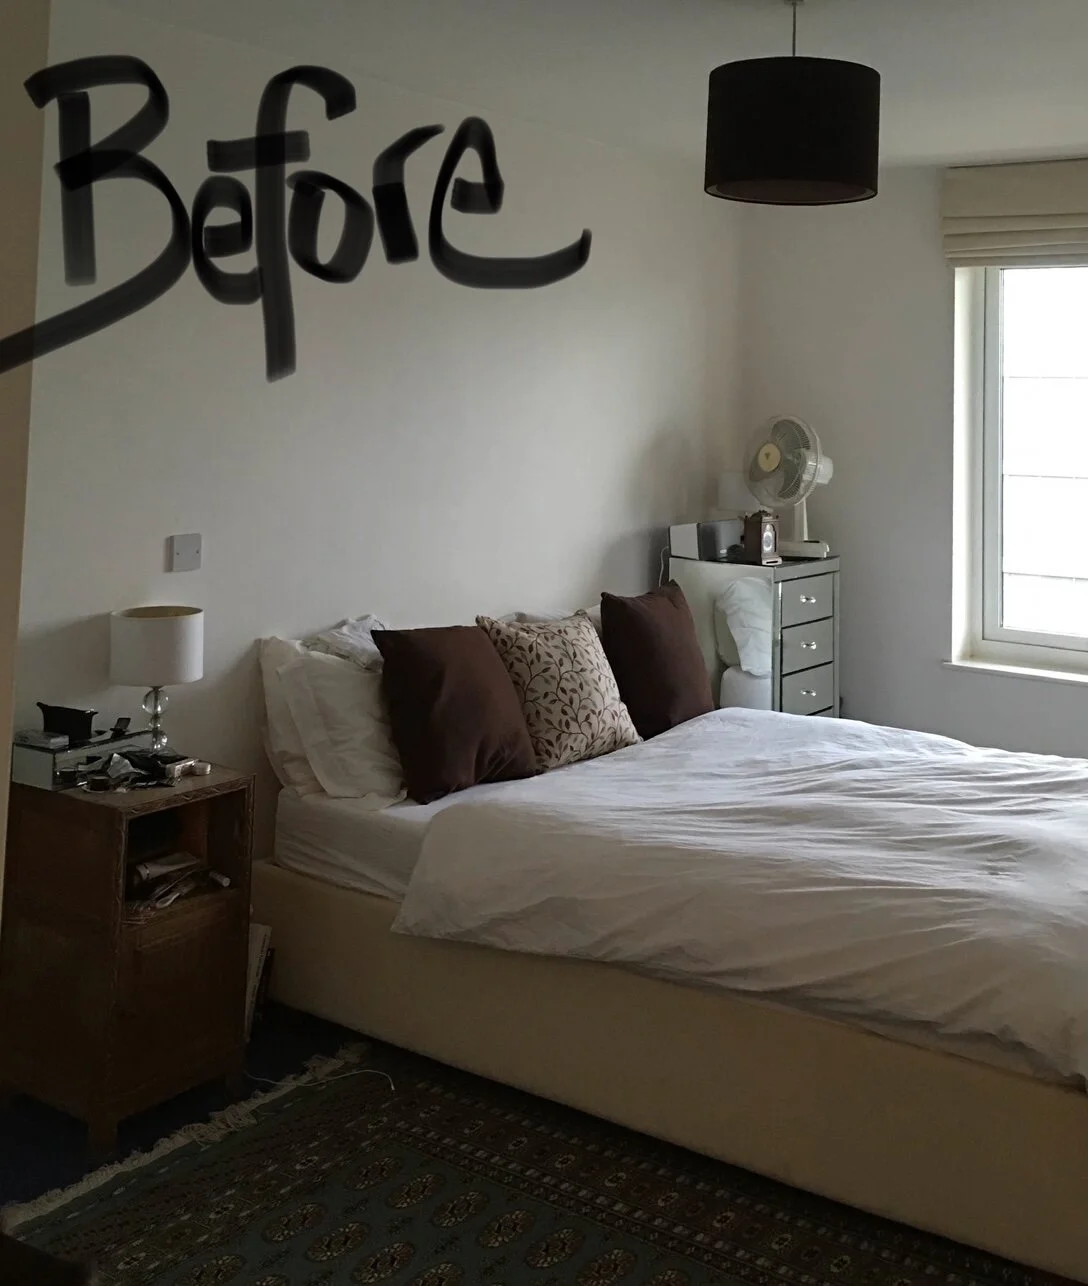
BEFORE. This was an overlooked back terrace facing a common courtyard. The brief called for an outdoor ‘room’ with privacy but without blocking the natural light.

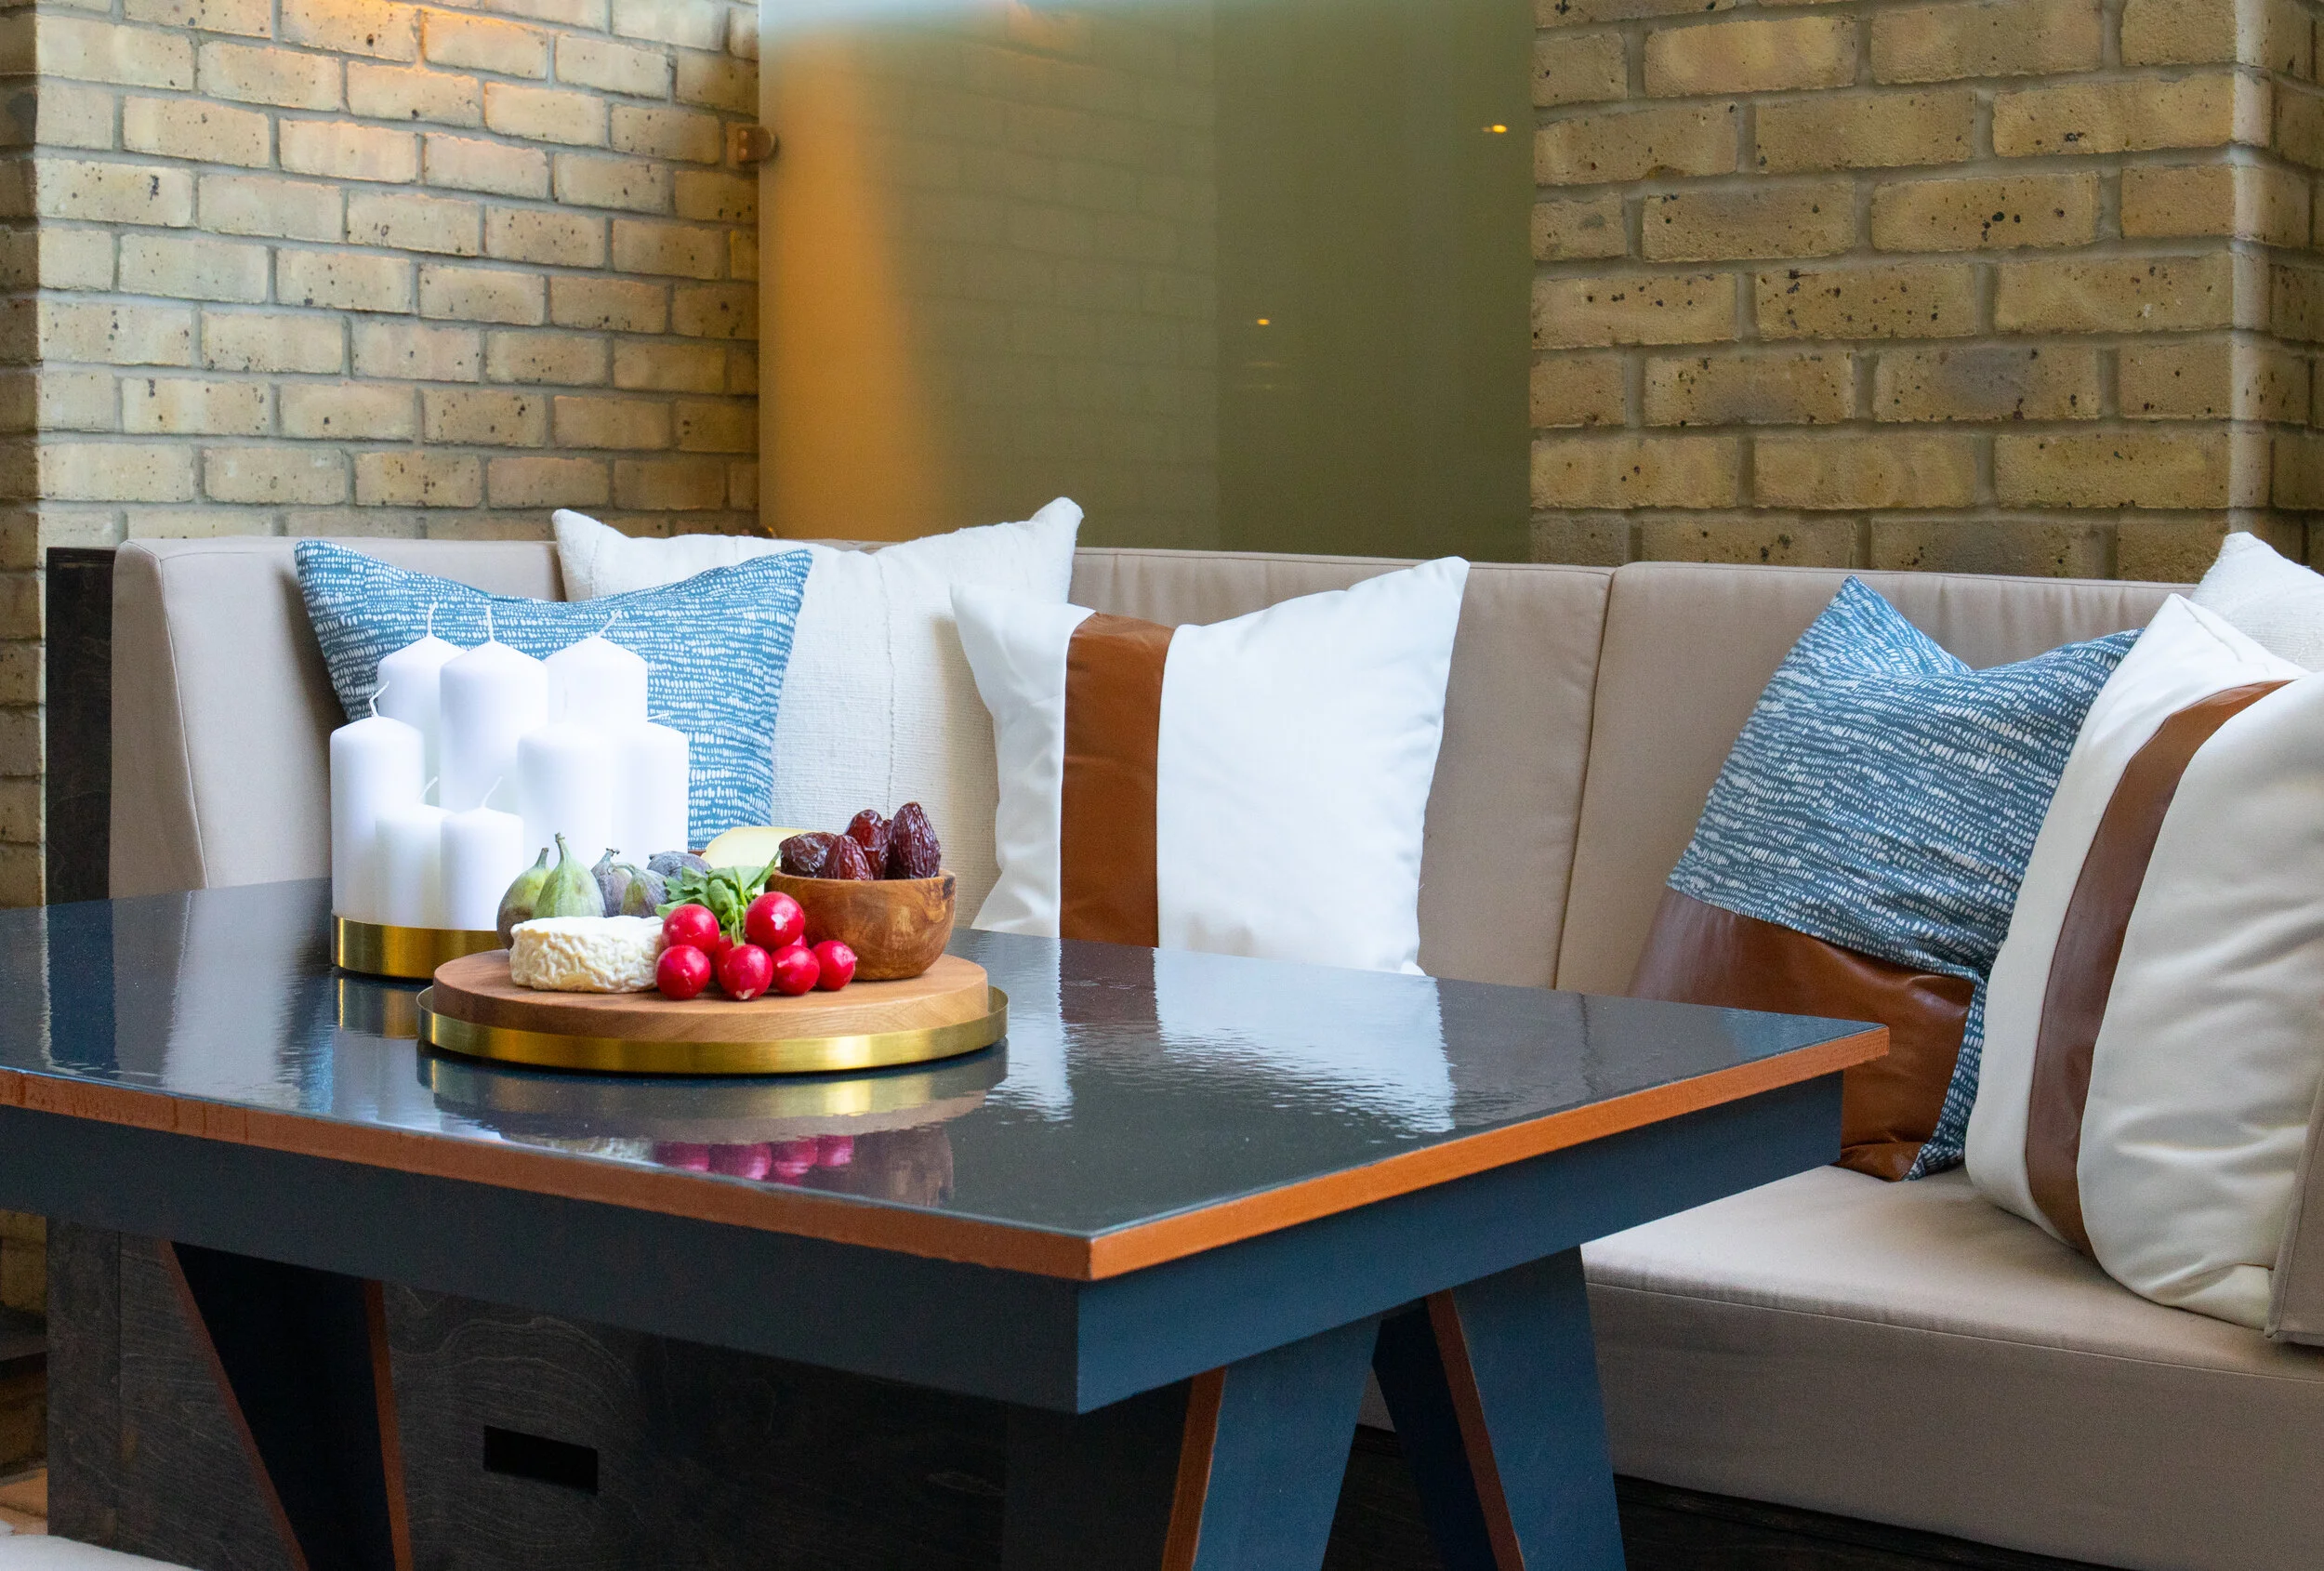
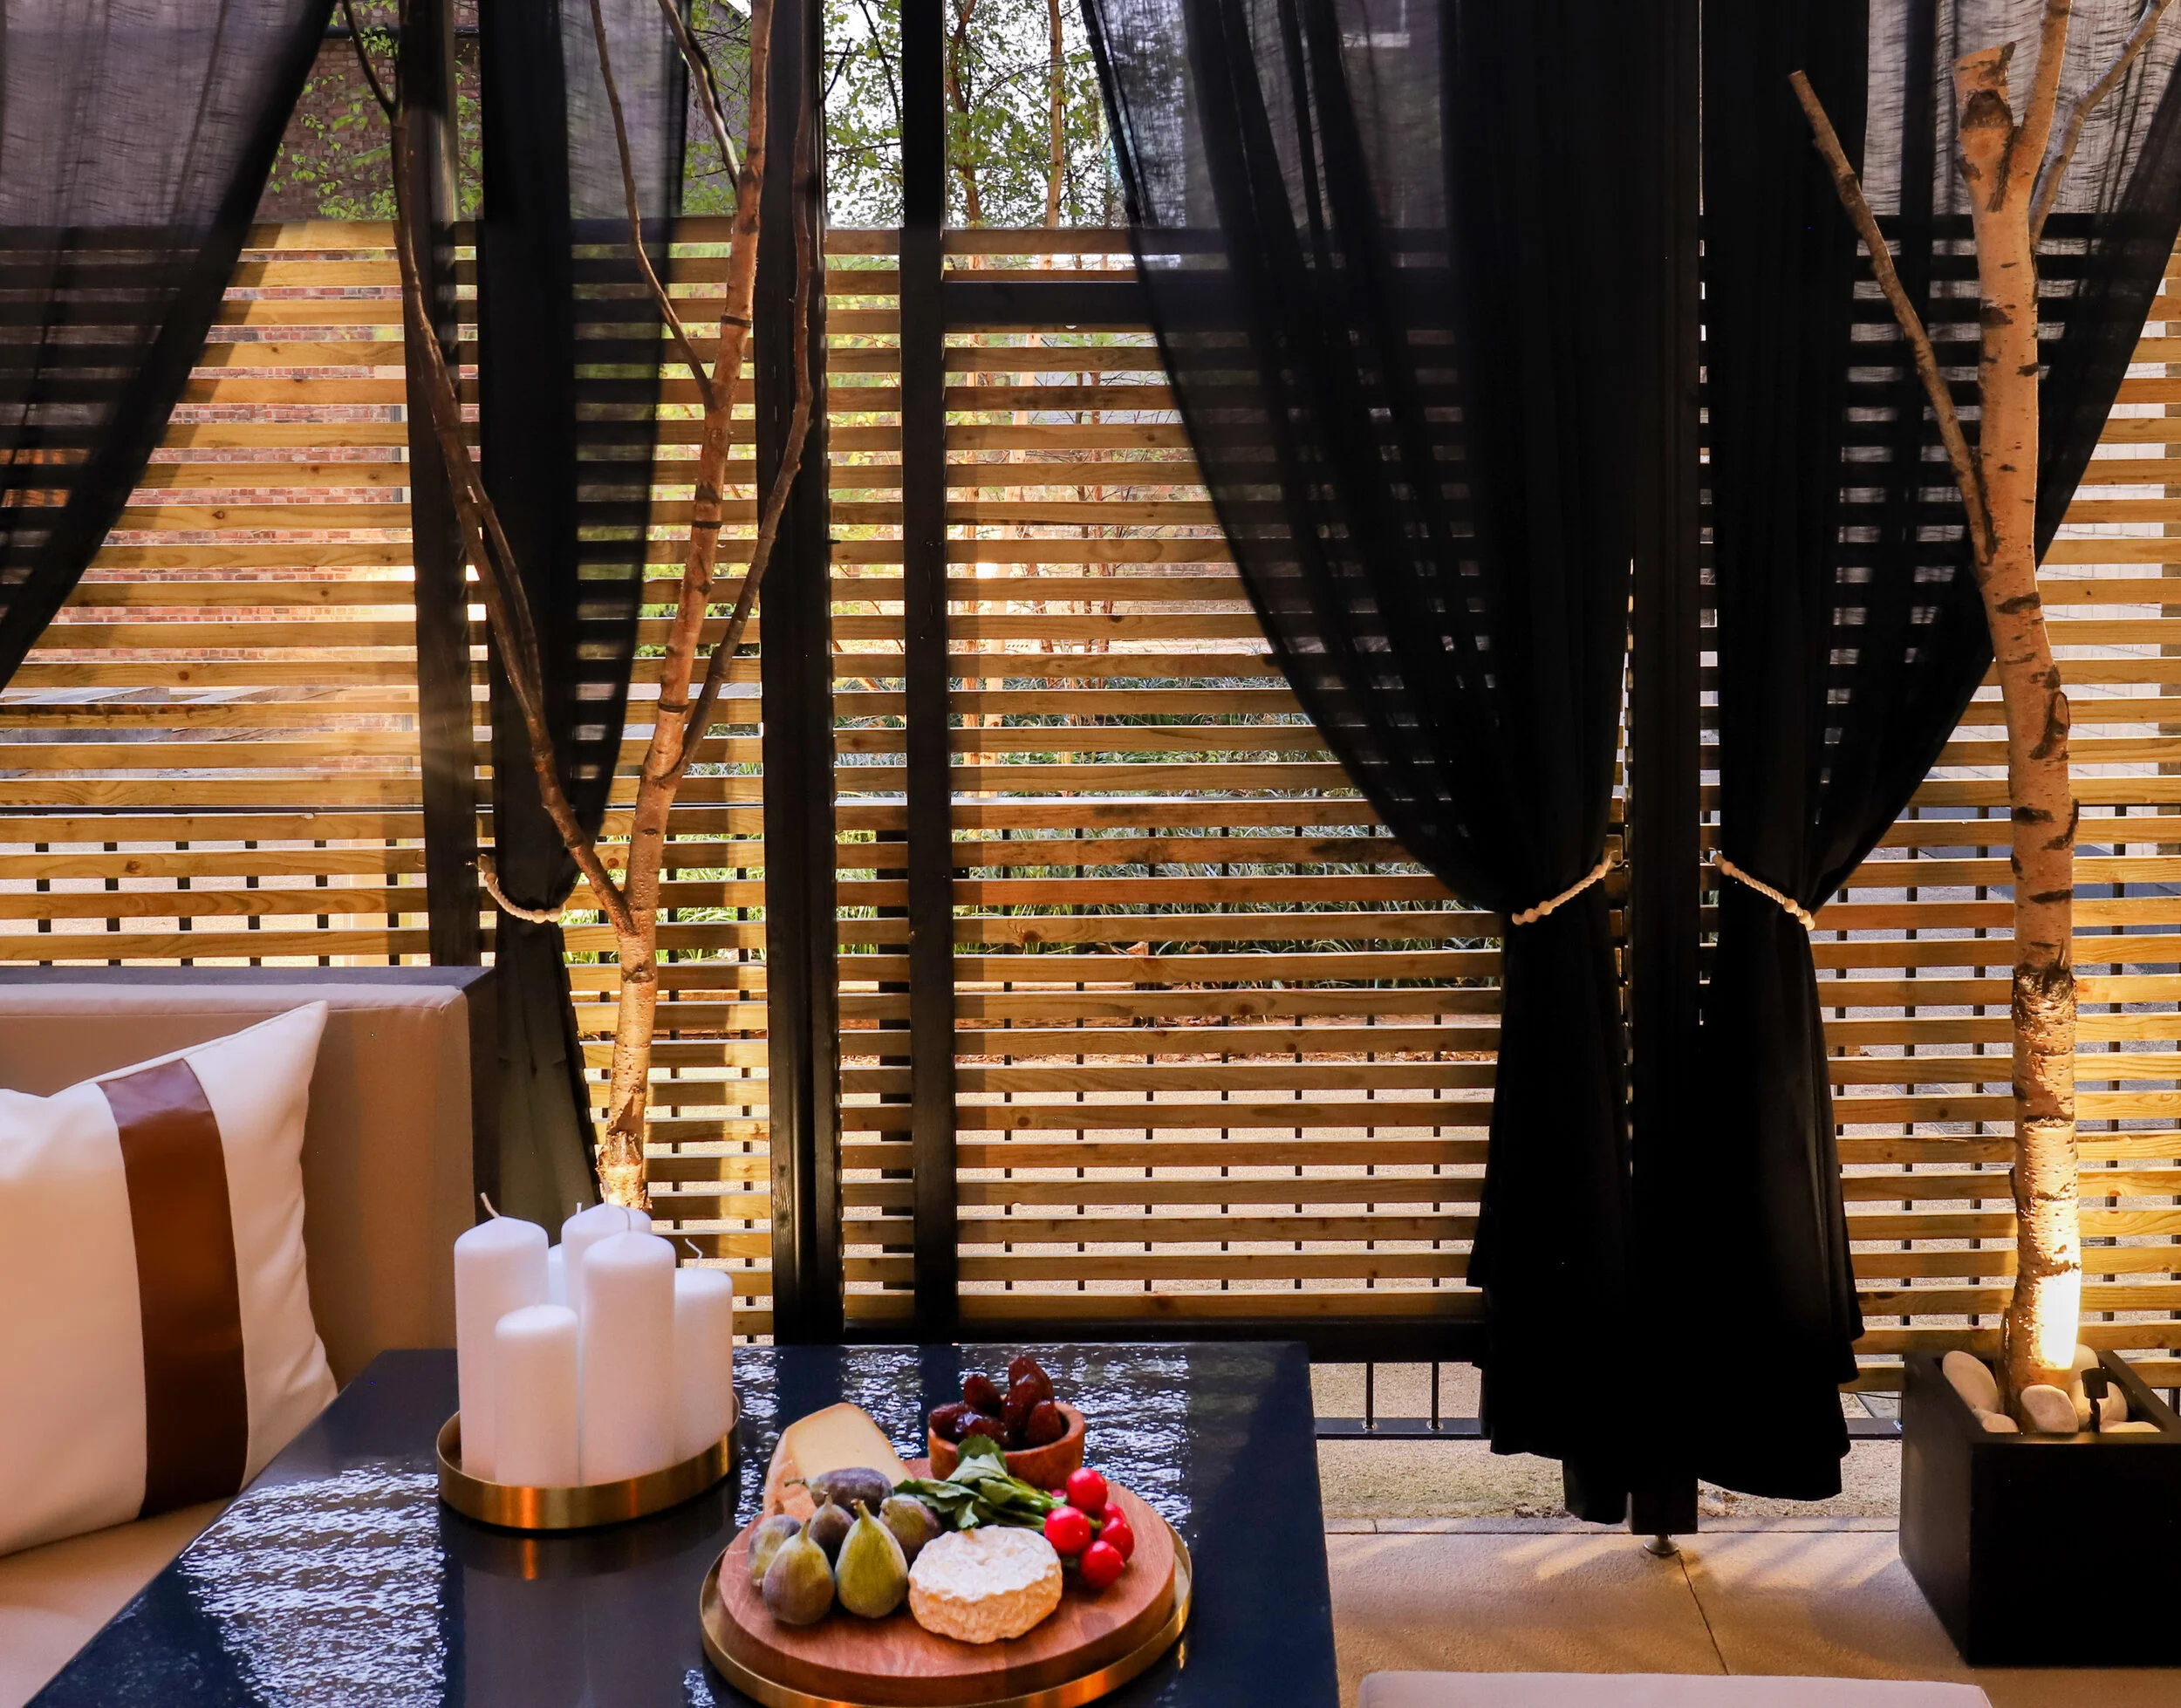
AFTER The worktop and cabinet in situ, under another custom piece — a backlit luminaire. Further custom pieces, the pergola and two types of fabric panels (sheer and solid) provide for flexible management of privacy and light.